
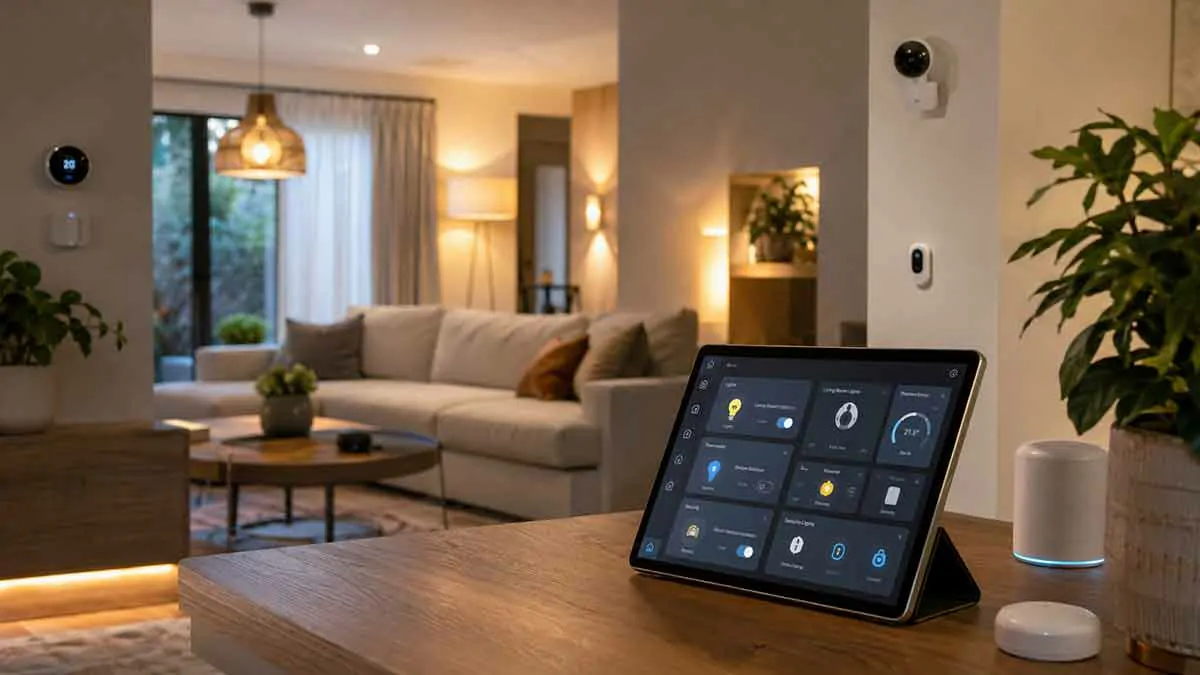
Home Assistant automation lets you turn a collection of smart home devices into a system that can react automatically to what happens in and around your home.
A light can turn on when the sun sets. Heating can adjust when everyone leaves. A notification can be sent when a door remains open. A fan can respond to temperature changes. These are simple examples of how Home Assistant can reduce repetitive tasks and give you more control over your smart home.
Home Assistant is different from many cloud-centered smart home platforms because it runs on your own hardware. The platform is open and supports thousands of devices and brands, while much of the setup and automation process can be handled through its visual interface without writing code.
This beginner’s guide explains how Home Assistant automation works, what you need to get started, how triggers, conditions, and actions fit together, and which automation projects are easiest to build first.
What Is Home Assistant?
Home Assistant is an open smart home platform that connects compatible devices, services, and integrations in one system.
Unlike a traditional smart home app that may only control products from one manufacturer, Home Assistant is designed to bring devices from different brands and technologies into a common interface.
You can use it to manage:
- Smart lights
- Smart plugs
- Thermostats
- Sensors
- Cameras
- Locks
- Fans
- Appliances
- Media devices
- Energy monitoring equipment
- Other connected devices
Home Assistant runs locally on your own hardware, so you are not required to depend entirely on a manufacturer’s cloud platform for basic operation.
What Is a Home Assistant Automation?
A Home Assistant automation is a set of rules that tells the system to perform one or more actions automatically when something happens.
A simple example is:
Trigger: Sunset
Action: Turn on the living room light
A more advanced example is:
Trigger: Motion detected
Condition: It is nighttime
Action: Turn on the hallway light
Home Assistant automations are built around three core concepts:
- Triggers
- Conditions
- Actions
Understanding these three components is the key to building reliable automations.
How Home Assistant Automation Works
Triggers
A trigger is what starts an automation.
Home Assistant supports many types of triggers, including events involving devices, time, locations, and environmental conditions.
Examples include:
- A specific time
- Sunrise or sunset
- A door opening
- A motion sensor detecting movement
- A device changing state
- A temperature reaching a threshold
- Someone arriving home
- Someone leaving
- Another event generated by a connected integration
For example:
Trigger: Front door opens
This tells Home Assistant to begin processing the automation.
Conditions
Conditions determine whether the automation should continue after its trigger occurs.
They are optional, but they are extremely useful when you want an automation to run only in particular circumstances.
For example:
Trigger: Motion detected
Condition: It is after sunset
Action: Turn on hallway light
The motion event starts the automation, but the action only runs when the condition is also satisfied.
Home Assistant checks the conditions after a trigger occurs, and the automation proceeds only when the required conditions are true.
Actions
Actions are what Home Assistant actually does after the trigger occurs and the conditions are satisfied.
Actions can include:
- Turning lights on or off
- Adjusting compatible thermostats
- Activating scenes
- Sending notifications
- Starting media playback
- Closing or opening compatible devices
- Running another script or automation
For example:
Trigger: Sunset
Condition: Someone is home
Action: Turn on outdoor lights
Home Assistant’s action system can control supported devices and can also activate scenes and other automation logic.
What Do You Need for Home Assistant Automation?
Before creating your first automation, you need a working Home Assistant installation and at least one connected device.
A basic setup usually requires:
- Home Assistant
- Compatible hardware to run it
- A home network
- Smart devices
- Home Assistant integrations for those devices
Home Assistant can run on dedicated hardware such as Home Assistant Green, as well as supported computers, Raspberry Pi systems, virtual machines, or containers.
For beginners, dedicated hardware can be easier because the software is already prepared for Home Assistant.
Do You Need Coding Skills?
No.
Home Assistant supports a visual automation editor, so beginners can create many automations without writing YAML or programming code. The official documentation specifically recommends using the visual editor, and beginners can also use automation blueprints created by the community.
YAML becomes useful when you want more advanced control, but it is not necessary for learning the fundamentals.
A good approach is to start with the graphical interface and learn the underlying logic gradually.
Understanding Devices, Entities, and States
Home Assistant uses terminology that may initially seem unfamiliar.
A device represents a physical or logical piece of equipment.
An entity represents a particular function or state associated with a device.
For example, a smart light could have an entity representing its on/off state and additional attributes such as brightness.
Home Assistant uses these states as information for triggers and conditions.
This becomes important when you build more advanced automations.
For example:
Entity: light.living_room
State: on
An automation can react when that state changes or use the current state as a condition.
Creating Your First Home Assistant Automation
The easiest way to learn automation is to create something simple.
Example: Turn On a Light at Sunset
You need:
- A compatible smart light
- A working Home Assistant installation
Then create an automation with:
Trigger: Sunset
Action: Turn on the light.
Home Assistant’s official beginner tutorial uses a similar example, turning lights on around sunset through the visual automation editor.
Once the automation is saved, monitor it to confirm that the light responds as expected.
How to Create an Automation in the Visual Editor
The exact interface can change between Home Assistant versions, but the basic process remains similar.
Open the automation section in Home Assistant and create a new automation.
Choose:
1. Trigger
Select what should start the automation.
2. Condition
Add any restrictions that need to be checked after the trigger occurs.
3. Action
Choose what Home Assistant should do.
Give the automation a clear name and save it.
You can then test it and review its behavior.
This visual approach is usually the best starting point because you can understand the logic without immediately learning YAML.
Beginner Home Assistant Automation Projects
The best way to learn is by building small automations that solve real problems.
1. Sunset Lighting
Trigger: Sunset
Action: Turn on selected lights.
This is one of the simplest automations and is an excellent first project.
2. Bedtime Lighting
Trigger: 10:30 PM
Action: Turn off selected lights.
You can later add conditions or additional actions.
3. Motion-Activated Hallway Light
Trigger: Motion detected
Condition: It is nighttime
Action: Turn on hallway light.
This introduces the idea of combining a trigger and a condition.
4. Welcome Home Lighting
Trigger: Someone arrives home
Condition: After sunset
Action: Turn on selected entryway lights.
This can make arrival more convenient while avoiding unnecessary daytime lighting.
5. Leaving Home Automation
Trigger: Everyone leaves
Actions:
- Turn off selected lights
- Turn off suitable smart plugs
- Change compatible devices to an away state
This type of automation can reduce repetitive tasks and unnecessary energy use.
6. Door Open Notification
Trigger: Door opens
Condition: The home is unoccupied
Action: Send a notification.
This is useful for selected exterior doors, garages, or other areas that you want to monitor.
7. Temperature-Based Fan Control
Trigger: Temperature rises above a selected threshold
Action: Turn on a compatible fan.
Another automation can turn the fan off when the temperature drops.
Avoid creating competing automations that try to control the same device in contradictory ways.
8. Leak Detection Alert
Trigger: Water detected
Action: Send a notification.
A leak sensor can be placed near a washing machine, sink, water heater, or another area where water damage could develop.
9. Morning Routine
Trigger: 7:00 AM
Actions:
- Turn on bedroom lights
- Turn on kitchen lights
- Adjust compatible climate controls
- Run other supported actions
A morning routine can combine several repetitive tasks into one automation.
10. Evening Routine
Trigger: Sunset
Actions:
- Turn on exterior lights
- Turn on selected interior lighting
- Activate other supported devices
This provides another practical multi-device project.
Using Conditions Correctly
Conditions are where many beginners become confused.
Remember the sequence:
Trigger → Conditions → Actions
The trigger starts the automation.
Conditions are then evaluated.
If the required conditions are true, the actions run.
If a condition fails, the automation does not continue.
For example:
Trigger: Motion detected
Condition: Sun is below the horizon
Action: Turn on hallway light
During daylight, the motion event may still occur, but the condition prevents the light from turning on.
Home Assistant conditions are logically AND by default when multiple conditions are added, meaning every required condition must be true unless you deliberately create different logic such as OR.
Using Multiple Triggers
An automation can respond to more than one trigger.
For example, you might want the same lighting automation to start when:
- Someone arrives home
- A particular time is reached
- Another supported event occurs
Multiple triggers can make an automation more flexible.
However, keep the logic understandable.
If several unrelated events control the same device, troubleshooting can become difficult.
Using Multiple Actions
Actions can be performed in sequence.
For example, an evening automation could:
- Turn on the entryway light.
- Turn on the living room light.
- Adjust a compatible thermostat.
- Send a notification.
You can also use delays, conditions, scenes, and other supported action logic for more advanced workflows.
Home Assistant’s action system uses a sequence-based approach, which allows multiple operations to be performed in an automation.
Scenes vs. Automations
Scenes and automations serve different purposes.
A scene describes a desired state for a group of devices.
For example:
Movie Night
- Living room lights at low brightness
- Selected lights off
- Shades closed
An automation determines when something should happen.
For example:
Trigger: Movie mode activated
Action: Activate the Movie Night scene
Scenes are useful for creating repeatable device states, while automations determine when those states should be activated.
Home Assistant Blueprints
Blueprints are ready-made automation templates that can save beginners a considerable amount of time.
Instead of designing every part of an automation from scratch, a blueprint provides a reusable structure that you configure for your own devices.
Home Assistant currently recommends blueprint automations as a good starting point for users who are new to automation.
Blueprints are particularly useful when you want a standard automation for common situations such as motion lighting, notifications, or sensor-based control.
Home Assistant and Smart Home Integrations
Home Assistant becomes more useful as you add integrations.
An integration connects Home Assistant with a device, service, or platform.
Once an integration is added, Home Assistant can expose the supported devices and entities so you can use them in dashboards, automations, scripts, and scenes.
The exact capabilities depend on the integration.
One device may expose only basic on/off control, while another may provide temperature, brightness, power consumption, battery level, or other information.
Always check the capabilities of the integration rather than assuming that every feature of the original manufacturer’s app will be available.
Home Assistant and Matter
Matter is an important option for modern smart homes.
Home Assistant has a Matter integration that can control Matter devices operating over compatible Wi-Fi or Thread networks. Home Assistant uses its own Matter controller software for this integration.
Matter can help bring devices from different manufacturers into a common smart home environment.
However, Matter does not eliminate the need to check individual device compatibility.
The wireless technology also matters.
A Matter device may use Wi-Fi or Thread, and Thread-based devices require suitable Thread infrastructure.
Home Assistant and Local Control
One of Home Assistant’s major advantages is local operation.
Home Assistant runs on your own hardware, and many devices can be controlled locally rather than requiring every command to travel through a manufacturer’s cloud service.
This can provide benefits such as:
- Faster responses
- Greater privacy
- Continued operation during some internet outages
- Less dependence on third-party cloud services
However, local operation depends on the specific integration and device.
A device can still require cloud services for certain functions.
Therefore, check how each integration operates before assuming that every feature works entirely offline.
Home Assistant and Energy Saving
Home Assistant can also be used to monitor and automate energy-related tasks.
Possible projects include:
- Turning off unused lights
- Controlling suitable smart plugs
- Monitoring electricity consumption
- Adjusting climate settings
- Responding to energy prices where supported
- Scheduling selected devices
The goal should be to use automation to reduce waste rather than simply automate as many devices as possible.
For example:
Trigger: Everyone leaves
Action: Turn off selected lights and suitable devices.
This simple routine may provide more practical value than a complex energy automation.
Home Assistant for Heating and Cooling
Heating and cooling are excellent candidates for automation.
You can combine:
- Thermostats
- Temperature sensors
- Presence information
- Time schedules
- Window sensors
For example:
Trigger: Everyone leaves
Action: Set a compatible thermostat to an away temperature.
Another automation could restore the normal setting when someone arrives.
Climate automations should be designed carefully, especially when several sensors and schedules are involved.
Home Assistant for Home Security
Home Assistant can combine security-related sensors and devices into a coordinated system.
Examples include:
- Door sensors
- Window sensors
- Motion sensors
- Smart locks
- Cameras
- Sirens
- Exterior lights
A simple automation could be:
Trigger: Exterior door opens
Condition: No household member is home
Action: Send a notification and activate selected lights.
Automation can support home security, but it should not be treated as the only layer of protection.
Critical security and safety systems should retain appropriate independent safeguards and manual controls.
Presence Detection
Presence detection allows Home Assistant to make decisions based on whether people are home.
This can be useful for:
- Lighting
- Heating
- Security notifications
- Energy-saving routines
- Welcome-home automations
- Away modes
For example:
Trigger: Everyone leaves
Action: Turn off unnecessary devices.
Presence detection can make a smart home feel more responsive than fixed schedules alone.
However, no presence system is perfect.
Keep important automations simple enough that an incorrect presence state does not create a dangerous result.
Notifications
Home Assistant can send notifications when specific events occur.
Examples include:
- A door remains open
- Water is detected
- A device stops responding
- Temperature reaches an unusual level
- Someone arrives
- A selected automation runs
Notifications are often more useful than automatically controlling a device because they give you information without making an irreversible decision on your behalf.
For example:
Water detected → Send alert
may be preferable to creating a complicated chain of automatic actions without knowing the exact situation.
Using Home Assistant Dashboards
Dashboards give you a visual way to interact with your smart home.
You can create views for:
- Lighting
- Climate
- Security
- Energy
- Media
- Individual rooms
A clean dashboard can make a large smart home easier to manage.
However, dashboards do not need to display every available sensor.
Show the information and controls you actually use.
When Should Beginners Use YAML?
For most beginners, the visual automation editor is enough.
YAML becomes more useful when you need:
- More complex logic
- Templates
- Advanced conditions
- Reusable configuration
- Fine-grained automation control
Learning YAML can be valuable, but it should be a second step rather than the first.
Start by understanding how triggers, conditions, and actions work through the interface.
Once the concepts are clear, YAML becomes much easier to understand.
Common Home Assistant Automation Mistakes
Starting With Complex Automations
A large automation with many triggers and conditions is difficult to troubleshoot.
Start small.
Using Too Many Devices
More devices create more possible points of failure.
Add devices when they solve actual problems.
Creating Conflicting Automations
Avoid several automations trying to control the same device in opposite ways.
Ignoring Device States
An automation may behave unexpectedly if the current state of a device is different from what you assumed.
Forgetting Conditions
A trigger may occur at the wrong time unless you use appropriate conditions.
Making Critical Functions Cloud-Dependent
Understand whether the devices involved require internet connectivity or manufacturer services.
Poor Naming
Clear room, device, and entity names become increasingly important as your system grows.
How to Troubleshoot a Home Assistant Automation
When an automation does not work, check the logic in order.
Check the Trigger
Did the trigger actually occur?
Check the Conditions
Were all required conditions true at that moment?
Check the Action
Is the selected device available and capable of performing the requested action?
Check the Device
Is the device online, powered, and responding?
Check the Automation Trace
Home Assistant provides tracing for automations, which can help you understand what happened during a run and where the logic stopped.
This is particularly useful when an automation contains multiple conditions and actions.
How to Make Home Assistant Automations Reliable
Start with a clear objective.
Use the fewest triggers and conditions necessary.
Give every automation a descriptive name.
Use reliable devices and integrations.
Avoid creating several automations that control the same device unless the interaction is intentional.
Test each automation independently.
Keep manual control available for important household functions.
As the smart home grows, review old automations and remove routines that are no longer useful.
A Simple Home Assistant Beginner Setup
A beginner does not need a large installation.
A practical starting point could include:
- Home Assistant running on suitable hardware
- One smart light
- One motion sensor
- One smart plug
- One temperature sensor
With those devices, you can already build several useful automations.
For example:
Motion + nighttime → hallway light
Sunset → living room light
Late evening → smart plug off
High temperature → fan on
These projects provide a good introduction to the core automation concepts.
Advanced Features to Explore Later
After becoming comfortable with basic automations, you can explore:
- Automation blueprints
- Scenes
- Scripts
- Templates
- Helpers
- Advanced conditions
- Presence detection
- Energy dashboards
- Matter
- Thread
- Custom integrations
- More complex automation modes
There is no need to learn everything at once.
The flexibility of Home Assistant is one of its greatest strengths, but it can also make the platform feel overwhelming when you are just starting.
Is Home Assistant Good for Beginners?
Home Assistant can be suitable for beginners, especially those who want more control over how their smart home works.
The platform has become easier to approach because many tasks can now be completed through the user interface without writing code. The official getting-started documentation is designed to guide users from installation through integrations and their first automation.
However, Home Assistant has a steeper learning curve than simple smart home apps.
Its advantage is flexibility.
You can start with basic automations and gradually build a much more advanced system as your knowledge grows.
Final Thoughts
Home Assistant automation gives beginners a powerful way to make connected devices respond automatically to everyday events.
The fundamental structure is simple:
Triggers start an automation. Conditions decide whether it should continue. Actions determine what happens next.
Once you understand that structure, you can create useful projects for lighting, heating, security, energy management, notifications, and everyday routines.
Start with one simple automation and use the visual editor rather than trying to learn advanced configuration immediately.
As your system grows, you can introduce blueprints, scenes, scripts, Matter devices, presence detection, and more advanced automation logic.
The goal is not to make every part of your home automated. The goal is to create reliable automations that remove repetitive tasks and give you greater control over the way your home works.